The re-doing is actually the easy part for me, ha ha, the blogging is the tricky thing to remember.
Anyways...off to it.
I've wanted a new table for ages, but since we're trying to save money, I thought this was one of the things I could re-do instead of buying.
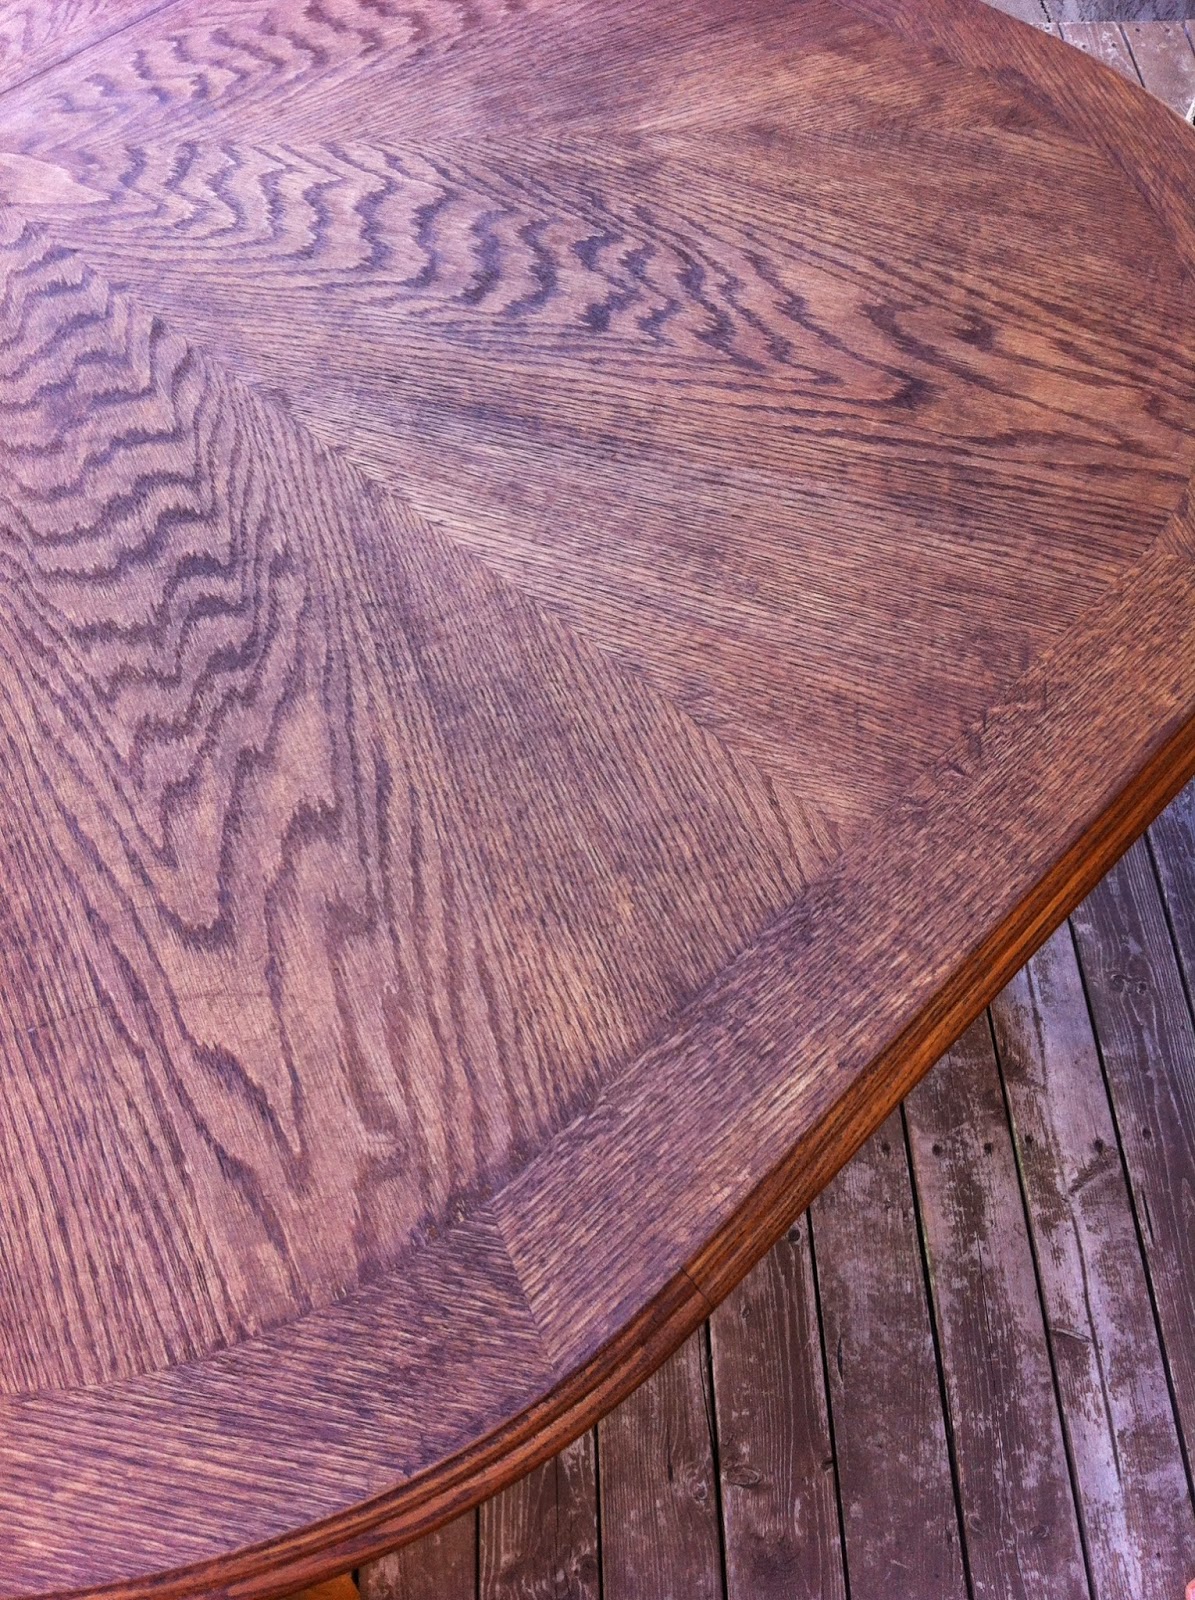
I started with your regular ugly honey-oak table. I don't have a super good before picture, but you'll get the idea. This is after the top is stained:

We sanded and scraped and stripped the top. This part took the longest for sure. We started sanding, but the varnish would come off and gum up the hand-sander, and we'd have to clean it off and start again.

After trying a few different tools, we found a scraper that worked well. It took off all the varnish and some of the wood, just scraped it down enough that we could sand it nicely. This part went much faster when my hubby helped, his manly muscles seemed to scrape a lot faster and more efficiently than mine did. In the above picture you can see the leaf after its been scraped and sanded.
On the edge, there is a little lip that can't be electric sanded. I used stripper on the edges. I just painted it on and let it sit for 10 minutes or so, then used a hand sander and dry cloth, so wipe off the excess and sand it. It was a little tricky to get in the grooves, but I figured it out.
I then put 1 1/2 coats of dark walnut stain on the top. I say 1 1/2 because I didn't wait for 2 hours between coats, I just went over almost all of it twice, just to get a really even look. I made sure not to get gobs of dark spots, and didn't make it overly dark, so the wood grain could really shine through.

Here's a picture of the varnish and the glaze:

This shows how it goes on...it looks white like glue...

You wipe it and it dries clear:

Now for the chalk paint! I was really excited about this, as it was my first time trying it. I LOVED it!


I picked a color called "mayonnaise", I really liked the antique white look to it.
I did 3 coats on the whole bottom half of the table, everything from underneath the little lip/edge part of the table, including the legs. It took this many coats because I didn't do each coat super thick, so I could get into all the grooves and cracks. There is a lot of detail and braiding and what not, so it too a while to get it everywhere.
The coats of chalk paint take like 10 minutes max to dry, so you can do coats consecutively.
When I was done, I did the wax finish, I picked a clear wax, because I wanted a clean and crisp look, compared to the darker wax used for the distressed look.
I just rubbed the wax in with a cloth all over. Not sure if I did it right, ha ha, but it looked fine.
The glare in this one doesn't show off the top color very well:

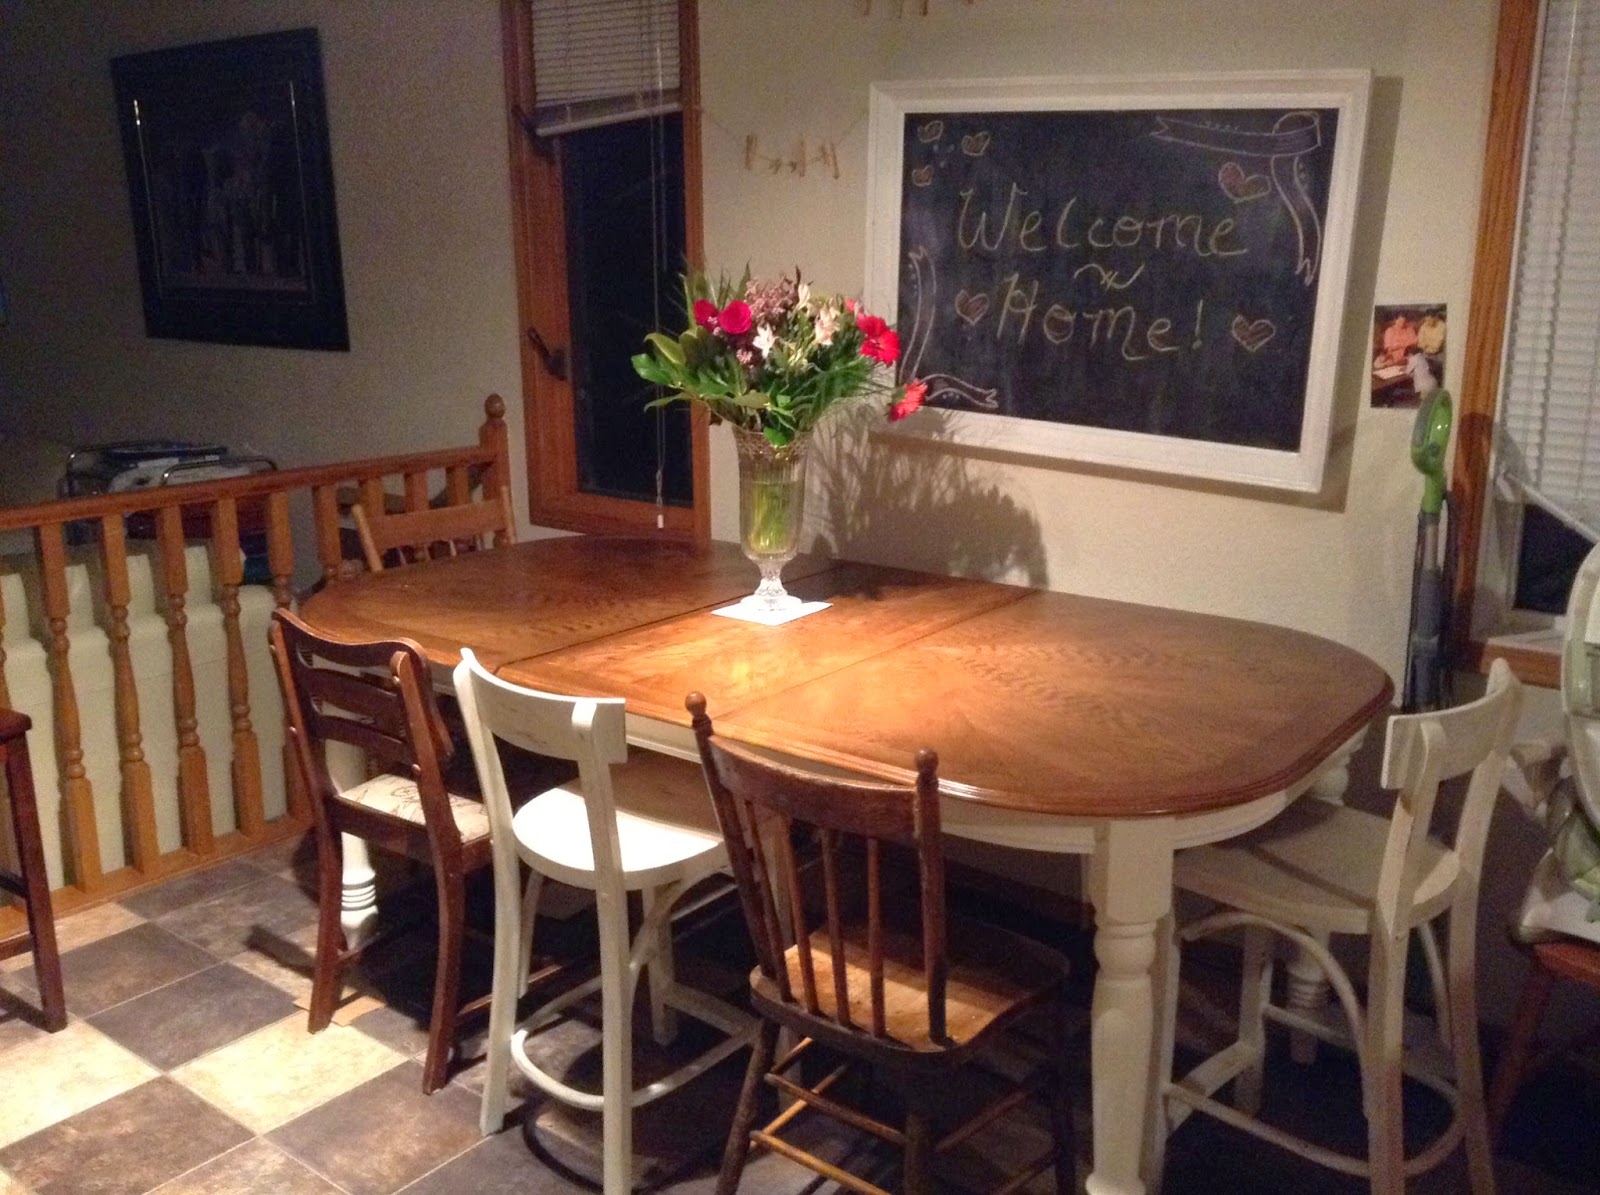
I decided it would look fantastic with some random old antique chairs, so I've been collecting them for a while. So, here is the final product!
Looks amazing, I will probably end up doing the same to my kitchen table down the road. Thanks for sharing!
ReplyDeleteThank you! And good luck with yours :)
DeleteThis comment has been removed by the author.
ReplyDelete