Tuesday, May 20, 2014

Dresser and stools re-do

I don't have very good pictures of these projects, but here is what I did. 

After the table I did, I had some chalk paint, and wanted to use it because it's SO awesome!

I had 2 black stools that really didn't fit with my old/antique random-chair look. I took these stools and put 2 coats of thinner chalk paint on them. 

Here's A helping out:

After drying, I watered down some dark stain and rubbed it on. I wiped it off right away, because I didn't want it to be too dark. 
The last step is sanding...I just roughed it up a bit to make it look older. Then of course, ended with the wax again.

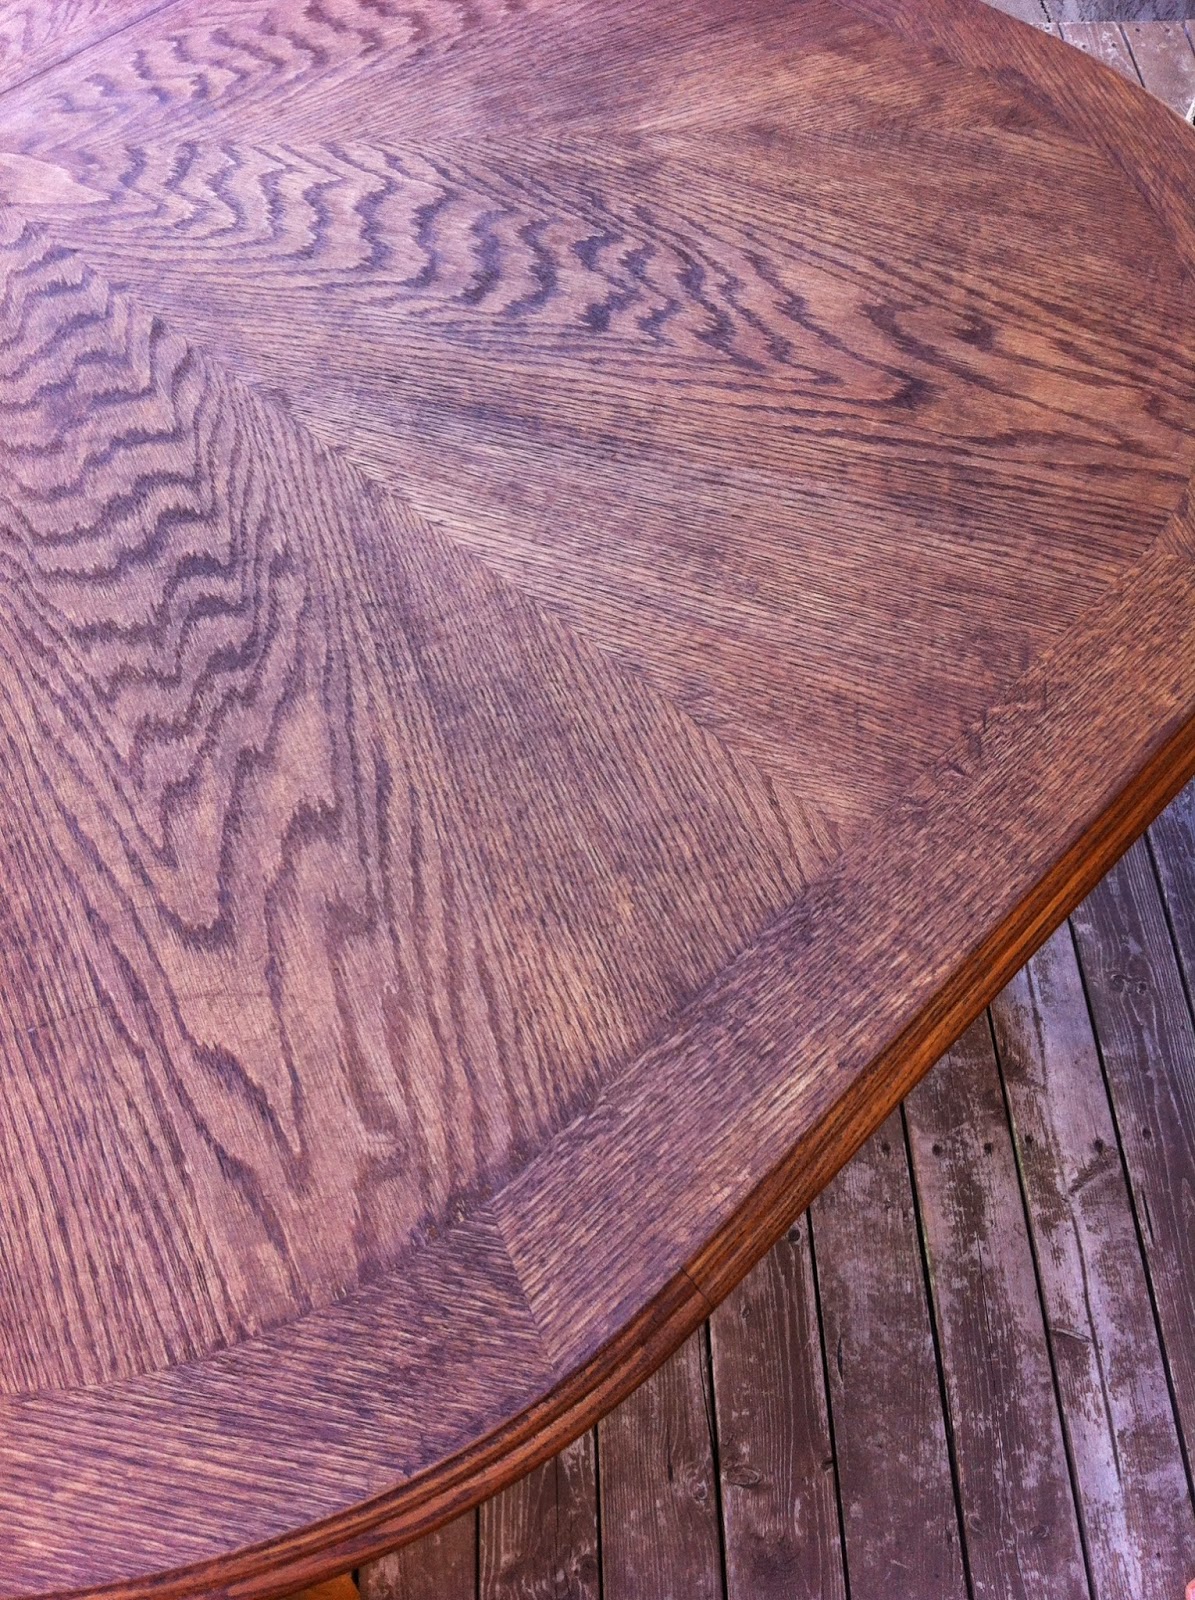
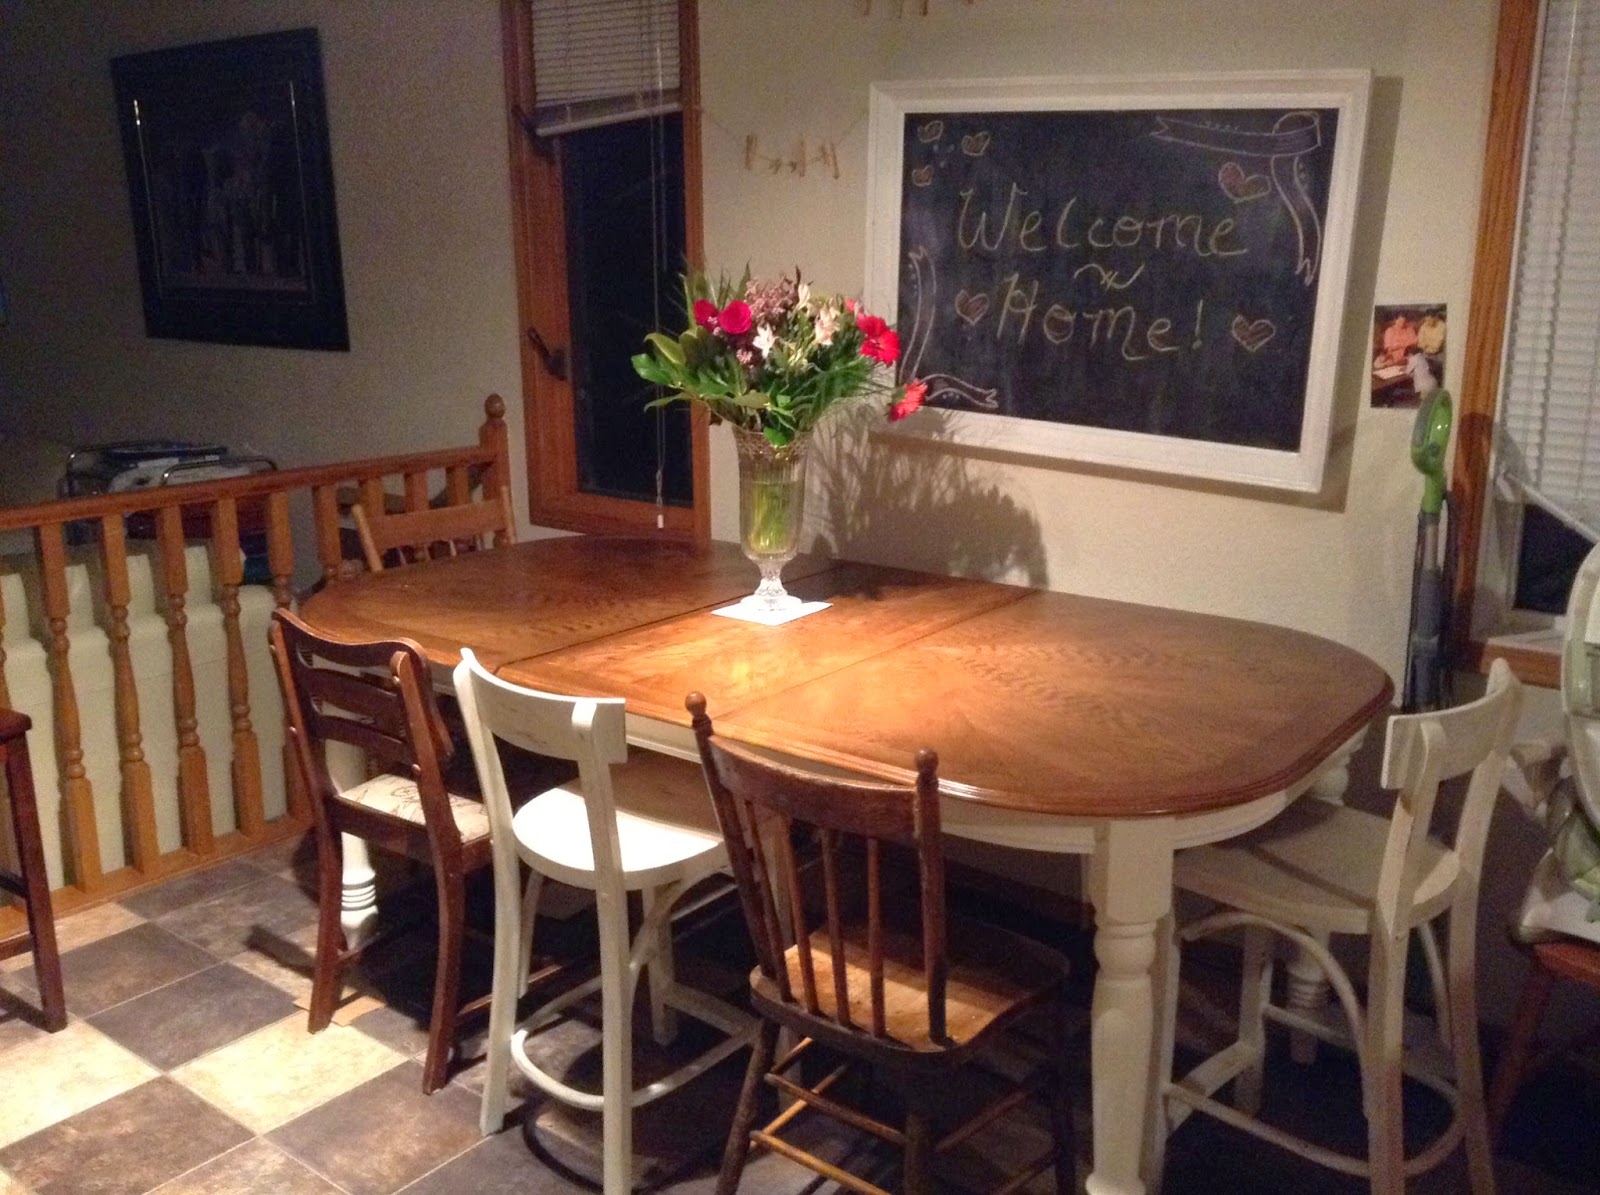
I don't have a close-up of the finished product, so you'll just have to zoom in on this:

With the last of the chalk paint, I was able to put a little more than 2 coats on this oak-veneer dresser we found. It wasn't enough for complete coverage, or I would've kept it all white. 

I took some grey paint I had leftover from my last dresser re-do (you can see a picture of it in the link) and watered it down and rubbed it on. I immediately wiped it off, so it was just a really slight color. 


We sanded it with a small piece of sandpaper, just to rough it up a little. Then finished with the Diamond Glaze polyeurathane, the same stuff I used on the dresser and table. 

Then we added the knobs, and Voila! :)


Kitchen table re-do: chalk paint and stain

It's been a while! Now tha it's  S U M M E R  and I have a whole house to plan and decorate, there should be a LOT more fun re-do posts. 2 today. Hopefully!
The re-doing is actually the easy part for me, ha ha, the blogging is the tricky thing to remember.
Anyways...off to it.

I've wanted a new table for ages, but since we're trying to save money, I thought this was one of the things I could re-do instead of buying.

I started with your regular ugly honey-oak table. I don't have a super good before picture, but you'll get the idea. This is after the top is stained:


We sanded and scraped and stripped the top. This part took the longest for sure. We started sanding, but the varnish would come off and gum up the hand-sander, and we'd have to clean it off and start again.


After trying a few different tools, we found a scraper that worked well. It took off all the varnish and some of the wood, just scraped it down enough that we could sand it nicely. This part went much faster when my hubby helped, his manly muscles seemed to scrape a lot faster and more efficiently than mine did. In the above picture you can see the leaf after its been scraped and sanded.

On the edge, there is a little lip that can't be electric sanded. I used stripper on the edges. I just painted it on and let it sit for 10 minutes or so, then used a hand sander and dry cloth, so wipe off the excess and sand it. It was a little tricky to get in the grooves, but I figured it out.

I then put 1 1/2 coats of dark walnut stain on the top. I say 1 1/2 because I didn't wait for 2 hours between coats, I just went over almost all of it twice, just to get a really even look. I made sure not to get gobs of dark spots, and didn't make it overly dark, so the wood grain could really shine through.


Here's a picture of the varnish and the glaze:


After that, I put on Diamond Glaze, which is a clear polyurethane that's water-based. We put a ton of coats on, like 6 or 8? Each with 1-2 hrs in between coats to dry. It dried much faster outside in the sun than it regularly does.

This shows how it goes on...it looks white like glue...

You wipe it and it dries clear:


Now for the chalk paint! I was really excited about this, as it was my first time trying it. I LOVED it!


 I read a whole bunch of posts about making your own, and I thought because it's my first time, and because it was my whole table, I didn't want to test that out right yet. I plan on doing so soon though!

I picked a color called "mayonnaise", I really liked the antique white look to it.

I did 3 coats on the whole bottom half of the table, everything from underneath the little lip/edge part of the table, including the legs. It took this many coats because I didn't do each coat super thick, so I could get into all the grooves and cracks. There is a lot of detail and braiding and what not, so it too a while to get it everywhere.

The coats of chalk paint take like 10 minutes max to dry, so you can do coats consecutively.
When I was done, I did the wax finish, I picked a clear wax, because I wanted a clean and crisp look, compared to the darker wax used for the distressed look.

I just rubbed the wax in with a cloth all over. Not sure if I did it right, ha ha, but it looked fine.

The glare in this one doesn't show off the top color very well:


I decided it would look fantastic with some random old antique chairs, so I've been collecting them for a while. So, here is the final product!


Thursday, May 1, 2014

Update!

I've been such a blog-slacker....sorry guys. Here's an update:

1) Homeschool is still going great! I'm loving reading articles and books on it, and getting more excited about doing it in the future. I always thought I'd just do it for a year or two, but for now, I'm hoping it will be much longer than that.
Most of our activities have wrapped up for this semester, and we finished all of our grade 1 outcomes several months ago. We've been working on the grade 2 ones, just to get a head start for next year.
We're looking into a lot of fun activities next year, but haven't settled on which ones yet. Some include parkour, hip hop, diving, cello, violin, art etc.
Reuben will be starting homeschool in the fall also and he's super excited about it! I am too:) I'm so glad that my kids have been enjoying it, as much as I do:)

2) Our kids are growing like weeds! Ashur eats more than any child I've ever met, and more than most adults I know (including my JD and I, and we eat a lot). We're not looking forward to that kid becoming a teen :/  He loves swimming, diving, reading, biking and is hoping to take an ATV day camp sometime this summer.

Reuben is getting big too! He's finally growing out of his clothes, and big enough for a booster. He still naps when he's tired, which is awesome! He's becoming a great little swimmer, and learning to read too. He's excited to start homeschool in the fall, and he has super sweet dance moves.

Oscar is huge!! He's almost 1 (2 weeks, eek!!) ...how did that happen?! He's starting to say words like mama, dada and nana...and every once in a while says a random word perfectly clear (coincidence?!). He's a very proficient crawler, but hasn't mastered the art of walking yet, of which we are glad! He'll only get into more trouble:) His favourite thing to do is to eat stuff off the floor...anything, and everything...and it drives me nuts!! Seriously. He's not a good sleeper yet either, but makes up for it in his super cute personality and his love of laughter. We sure enjoy having him around:)

JD is loving his job and looking forward to our huge summer project! (See #3)

I'm really enjoying a book club we started a few months ago, and the occasional craft night. A lot of my time is spent mentally designing our awesome summer project (seriously LOVE Houzz!!)

3)  If you haven't already heard from FB, we're building a house!!! We started looking at lots ages ago, and settled on this wonderful pie-shaped lot in a quiet cul-de-sac super close to where we currently live. It took us months to figure out the logistics, the financing, if we could actually do it, how we'd do it etc....and then several more months to come up with a house plan and get it drawn up.
We're passed the design phase now, and the paperwork is taking ages!! It's driving me more than a little bit nuts, we're really anxious to start.
If all goes well, we should be digging in a week or so (although, I've been saying that for a month now, so who knows, ha ha!).
I LOVE designing, planning, picking out colours etc...and JD loves building, so we make a good team:)
I've posted tons of my ideas on Instagram, and I'll keep posting updates as they go on.
We're super excited about this as it's out first ever house!!